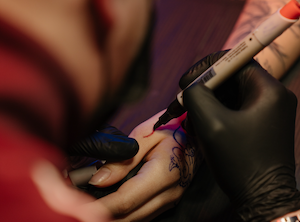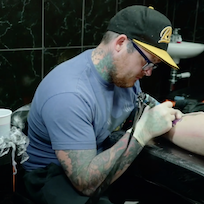
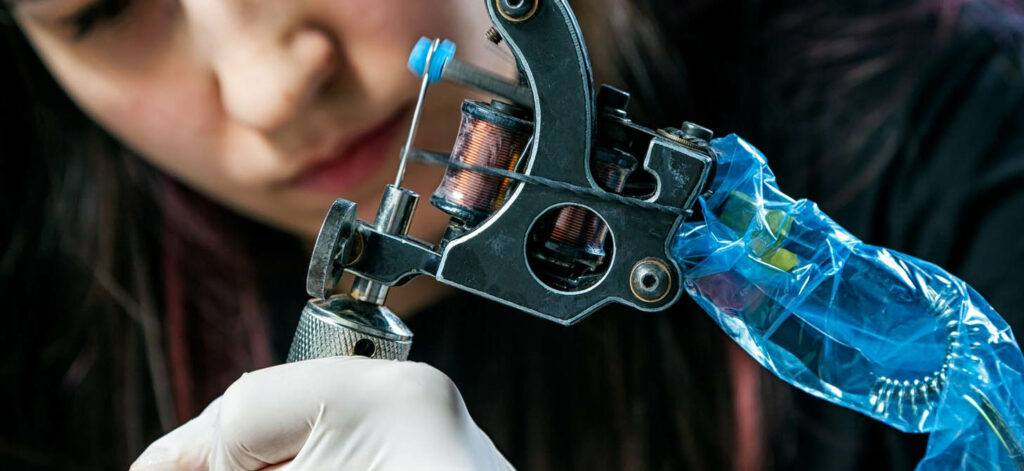
Adjusting a tattoo machine is an art in itself and requires a lot of experience and patience. Coil machines offer many adjustment possibilities that can easily overwhelm you. With a rotary machine, there are fewer variables that can be adjusted than with a coil machine. But again, it is important to think about the different settings and preparation for tattooing beforehand.
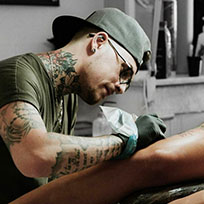
Set up a pen-style rotary tattoo machine
The most important thing when preparing your tattoo machine is to work as hygienically as possible. Make sure your machine and all accessories are clean and disinfected. Wash your hands and put on medical gloves. Depending on the machine, you can now start to make the mechanical adjustments. Some rotary tattoo machines allow you to change the cam, adjust the (electric) give and change other features of the machine to your liking.
Once you have mechanically adjusted your machine to your requirements, you can now start to assemble the machine. If you have a pen-style machine, you can simply pull a wider cable protection sleeve over the machine and seal it at the end with grip tape or adhesive tape. Some manufacturers offer disposable grips for their models that allow you to clamp the protective sleeve directly underneath the grip with an O-ring.
Now all you need to do is attach the cartridge to the machine and adjust the needle protrusion to get started.
Set up an angled rotary tattoo machine
To set up your angled rotary tattoo machine, you should also make sure that your machine is cleaned and disinfected. Now, after washing and disinfecting your hands, you can put on medical gloves and make the mechanical adjustments. Angled rotary tattoo machines often offer options to adjust the stitching characteristics of the machine to suit the needs of the tattoo artist. Since every machine behaves differently, take your time to test all the settings and find the right parameters for you.
Once you have adjusted your machine to work with you and the tattoo you want to do, you can start setting up.
Traditional needles
If you are working with traditional needles, you should first connect the appropriate tip for your needles to the tube. Now you can insert the needle bar after checking that all needles are unbent and pointed. Now place the eye of the needle bar over the motor connection and screw the tube tight. Your machine has a holder with a screw for this purpose. In the next step, adjust the needle protrusion. Make sure that the needle does not stick out too far, both when the machine is at rest and when it is running.
You can now stabilise the needle bar with two rubber bands that you fasten around the machine and the needle bar. This will make your needle run more smoothly and give you better control over the vibrations during tattooing.
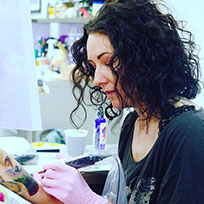
Cartridge Grips
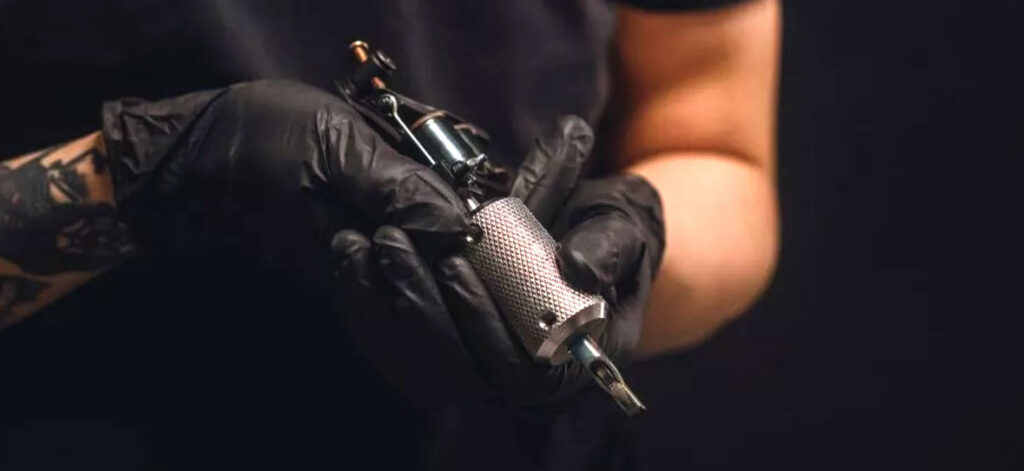
Nowadays, most tattoo artists work with cartridges. Cartridges can also be used with angled rotary and coil machines – with cartridge grips. These offer the possibility to be screwed directly to the machine and have a plunger instead of a needle bar, which transmits the movement of the motor directly to the cartridge.
To connect a cartridge grip, you only need to screw the grip onto your machine and then insert the cartridge. You can usually adjust the needle protrusion directly on the cartridge grip. You can also use rubber bands to stabilise the plunger bar, but this is not really necessary, as the stroke and thus the lever to the needles is much shorter with cartridges and the plunger only has an indirect effect on the needles. This means that the needle runs more smoothly than with classic needle bars, even without rubber bands.
Setting up a coil tattoo machine
To mechanically prepare a coil tattoo machine for a tattoo session, you need a lot of experience and a good teacher. Depending on the machine and the tattoo, you can make all kinds of adjustments. You can set the give, adjust the needle protrusion, determine the hit and even change individual parts to perfectly adapt the machine to your needs. If your tattoo is more complex and involves both shading and linework, you should use at least two coil machines that are specially prepared for this.
Once you have chosen your machines and set it up mechanically to suit you and the session, you are ready to set up the coil machine. Make sure you have properly cleaned and disinfected your tattoo machine. Now wash and disinfect your hands and put on medical gloves. From now on, it is important that you work in a completely hygienic way. First check that you have set the correct distance from the contact screw to the front spring. If this is correct, you can now take your tube and the needles that will be used with it out of the sealed packaging and inspect them. Are the needles all correctly arranged and unbent? Are the tube and the tip really perfectly clean?
When you are sure that your tools are hygienically clean and the needles are sharp and in order, the next step is to insert the needles (or cartridge) into the tube and connect it to the machine. Once you have managed to screw the tube to the machine and place the needle bar on the armature bar, you can now place rubber bands around the machine to stabilise the needle bar. The best way to do this is to use two rubber bands that exert even pressure and prevent the bar from wobbling. Now you just need to attach your clip cord to the machine and you are almost ready to go.
Your machine is now correctly adjusted and set up. In the next step you should pack the machine hygienically with a machine bag and also cover the clip cord with a clip cord protector (snakeskin). Now your coil machine is ready for use and you can start tattooing.
Conclusion
Once you have followed all these steps, you can connect your machine to a tattoo power supply and start tattooing. Always make sure that you work hygienically and as sterile as possible to protect yourself and your client. After each client you should clean and disinfect your tattoo machine and seal it to prevent cross-contamination.
If you’d like to learn more about that, you may be interested in our Advice Hub article “How To Clean And Sterilise A Tattoo Machine“.
 What Is A Prince Albert Piercing?
 The Best Tattoo Ink 2024
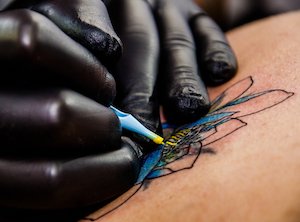 Tattooing Over Stretch Marks, Moles, Scars And Other Skin Conditions
 11 Best Fonts For Tattoos 2022
 Advice For An Itchy Tattoo